


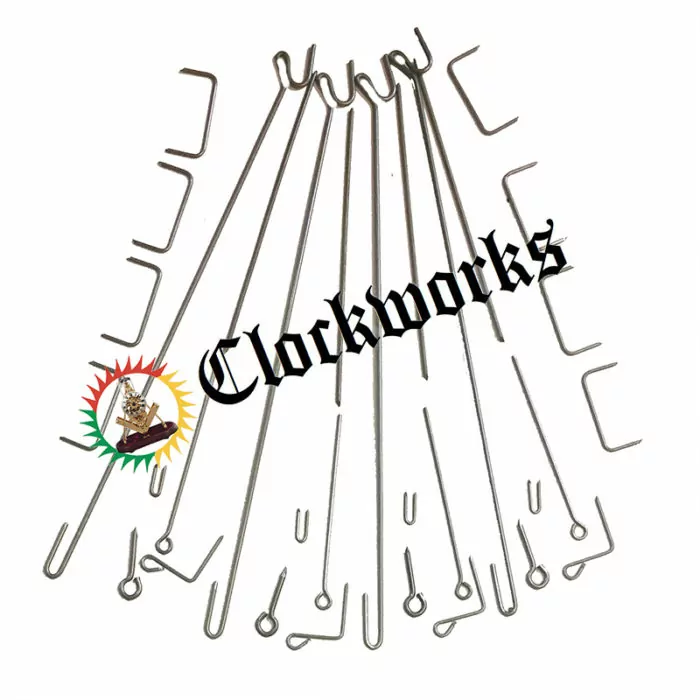
Long Screw Drivers Cuckoo Clock 6pc
$16.00
Long Screw Drivers Cuckoo Clock 6pc
This is the best set to remove movements from the clock case. They reach into mantle clock cases and cuckoo cases very well.
$16.00
In stock
SKU: CT37
Categories: Clock Tools
Ships From: USA
Sold By: Clockworks Inc.
Returns: 30-day return policy
Secure Payment: Shop with confidence
Post WW2 German cuckoo clock repair parts for the professional or hobbyist. Information on how to install these parts in a cuckoo clock. – Clockworks
Please view these informational tabs to help with determining the proper parts for your clock.
Repair Parts
The most common Cuckoo Clock Repair Parts sold are the bellow tops and the hands.
The bellow tubes are usually good to reuse on the clock, just the bellow tops have cloth that rip over time and therefore the clock will not cuckoo the time out.
Repairing cuckoo bellows
If the cloth is torn, you do not need to replace the entire cuckoo bellows. You can use only the bellow tops instead.
If replacing just the bellow tops it makes things easier to get the correct size for the clock.
To get the proper bellow tops measure the length and width of the top only. Snap off the old tops off of the bellow tubes and clean the surface with a knife, then epoxy the new tops on the same way. Then transfer the cuckoo lift rings from the old tops to the new ones and its done.
Cuckoo Clock Repair
The help section can help with many of the most common issues the clock may have. We also have the cuckoo clock movements for post 1950 German made units. This is about 80 percent of the cuckoos out in the world so chances are we have the movement you need.
If the movement is worn out and is post 1950 its just as well to get the new one instead of restoring the old one.
The process of the movement restoration is time consuming and therefore expensive.
When the new movement is 100-200 dollars and will last a lot longer than the best restoration.
New cuckoo clock movement not striking
The following is for when the new cuckoo clock movement will not go into striking mode for the hours. The bird will not come out and the clock will not indicate what time it is with the cuckoo call. Here are some guidelines on what to check in this situation.
Latch the cuckoo door
There is a wire above the cuckoo door. This closes and locks into place. This is for either shipping the clock and also for chime shut off.
It is a small wire that stops the door. Turn this wire either in the way or out of the way of the door. Be sure it is out of the way so the door can open and it can cuckoo.
Check the silence lever
There may be a silence lever if the cuckoo movement has one. The silence lever is on the side of the cuckoo clock movement and sticks outside of the clock case.
Push it down for cuckoo on and up for cuckoo shut off. Just move it to the opposite direction and see if the clock will strike out the cuckoo calls.
Sometimes the movement has a silence switch that does not stick outside of the case. But it may still be on the movement itself. Simply look at the back of the clock with the back panel off. Here is where you may see the silence switch.
As you are facing the back of the movement, look for a lever on the right side near the top. Not all cuckoos have this feature. Many manufacturers silence the cuckoo just by locking the bird door.
Clock chain resistance
Be sure nothing is in the way of the chain that drives the striking side of the cuckoo clock. One weight controls the time and the other the strike.
If the chain is rubbing anything, like the hole in the bottom of the cuckoo case, it will not run. It would be equivalent to not having enough weight to make it run.
The chain that holds the weight should be straight from the ratchet wheel and down without rubbing anything. Also the side of the chain that there is no weight can’t be caught up on anything as well.
This is the side that you pull to raise the weight on the other side of the chain loop.
Bellow lift wires in the way
On a new cuckoo clock movement install, you have to bend the lift wires so they do not get caught up on each other. Because the bellow wires could be hitting each other and creating resistance if they got caught up on each other during the travel.
These just get bent this way or that way so they can go up and down with the bellow tops. When bellow tops are broken or torn it can cause this to happen also.
Bird arm position
The arm that the bird rests on could be bent in a way where it is trying to go forward too much. Therefore it hits the front of the clock case instead of the position where it opens the door.
The intent is for it to open the cuckoo door only and not hit the front of the clock case. Furthermore, it will only cuckoo if the bird arm is able to be all the way forward with no resistance.
Cuckoo door opening wire
When this wire is too long, it will try to open the bird door too much. The cuckoo strike cannot start if the bird door is open too much.
The solution is to make the door wire shorter or put a bend in it. Putting a bend in this wire so it has a hump instead of straight will be the same thing as making it shorter.
Cuckoo Clock Not Striking Conclusion
Resistance causes the cuckoo to not go into striking mode. There is only 4 or 5 gears that have to spin around to make the clock cuckoo. However, it will not function if there is any resistance.
These 4-5 gears need to spin to have the bellows lift and open the cuckoo door at the same time. These spinning gears dictate a lot of action and any resistance in any part will stop it from working.
Installing cuckoo clock hands
Installing the cuckoo clock hands bought from clockworks.com starts with removing the old hands.
Removing the old cuckoo hands
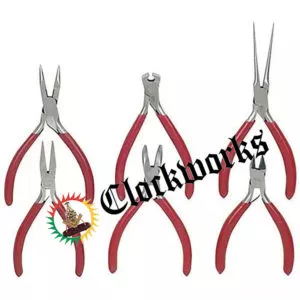
To remove the cuckoo hands you will only need a pair of needle nose pliers.
While holding the minute hand still (longer of the two hands) loosen the minute hand nut with the pliers. Turn the hand nut in a counter clockwise direction while holding the hand still will loosen it up. Now you can turn it with your fingers and it will come right off.
The cuckoo minute hand bushing
With the minute hand off it will expose a round bushing that has a square hole in it. This bushing may or may not come off with the minute hand. In fact it maybe stuck in the hand itself.
If the bushing is stuck in the hand just remove it by prying up and off with a flat screwdriver. The hour hand is next and is only a friction fit. Twist it and pull at the same time and it will come off.
Install the hour hand
The hour hand is first. Simply twist and push at the same time as it is only a friction fit. The tube it goes on tapers although it may not be noticeable. So the more you twist the hour hand and push down at the same time, the tighter it will be on the clock. Do not worry about having it point to the right time yet, we will do that later.
Now put the minute hand on (the longer of the two hands). Put this on the bushing and the ridges will somewhat lock it into place in the hole of the hand. Next is the hand nut which goes onto the hand shaft where the threads are on the tip.
This will sandwich the minute hand between the bushing and its nut. Now it’s time to set the hands to point to the correct time when the clock cuckoo’s.
Install the minute hand
Next put the brass bushing with the square hole in it, on the clocks hand shaft arbor’s square portion. The flat side of the hand bushing will go toward the clock dial. The side with the ridge on it will point outward.
Setting the cuckoo strike
After the install of the cuckoo clock minute hand we need them to point to the right place. Putting the hands in a position to point to the right place when it cuckoos the hour. Put the clock up on the wall and turn the minute hand to make the clock cuckoo out the top of the hour.
Count the number of cuckoo’s the clock sounds out and point the hour hand to that number. For example, if there were 6 cuckoos point the hour hand to the six. Loosen the minute hand some so you can turn it to the 12 to represent the top of the hour.
Tighten the minute hand nut while holding it still at the 12. Now just check the next hour and see if it will point to the correct spot when it cuckoos again.
Cuckoo Strike Quantity Issues
Issues with the strike quantity on a cuckoo clock is a common ailment upon setting up a new movement. The clock will strike 12 o’clock and then 12 again at 1 o’clock or something like this. This has to do with the mechanical components behind the clock dial.
Remove the hands and dial to get to that section of the cuckoo movement.
Remove the hands
To remove the cuckoo hands you need a pair of needle nose pliers. Hold the minute hand still (longer of the two hands) while loosening the minute hand nut.
Once the nut is loose, just turn to the left until it is off. Then the minute hand will come off with its round bushing that has a square hole in it. Remove the bushing out of the minute hand when it’s off of the clock.
It is only a friction fit, just push it out or pry it out of the hand with a flat screwdriver. Hour hand is only a friction fit so twist it and pull.
Remove the dial
Removing the dial is done after the hands are off. There is anywhere between 2 and 4 small nails holding the cuckoo dial on the clock. Sometimes, on rare occasions, the dial is glued to the clock case. Either way, it is the same method to remove the dial.
Take a small flat head screwdriver and lift gently on the dial on one side and then the other until little by little it will come up and off the case.
Component description
Once the dial is off of the clock please notice the saw tooth rack. The rack looks like a saw with sharp teeth and it flops up and down in the front of the movement. It falls down on a snail looking thing that is on the same tube as the hour hand.
In other words the smaller of the two hands that points out the hour is also on this same tube as the snail. A rack and snail count system these components determine how many times it will cuckoo each hour.
How it works
There are at least 12 saw looking teeth on the rack, one tooth per hour totaling at least 12. The rack will fall onto the portions of the snail then moves back up one tooth at a time. Each tooth that climbs back up lets the strike train run for that time duration.
That time duration of the strike wheels spinning will allow the clock to cuckoo one time. The lowest portion of the snails humps would be 12 strikes for 12 o’clock. This is because the lowest hump on the snail will expose 12 teeth on the rack.
Correcting Cuckoo Strike Quantity Issues
If there is any Cuckoo Strike Quantity Issues, the issue is in this area. The best thing to do is to make it strike over and over as looking at these components in action.
There is usually no parts to buy to fix this and it’s usually just a matter of tweaking something here or there to let the rack fall as it should and when it should.
Something to note is that if it strikes ONE and TWELVE ok, then the snail is on correctly and the rest of the hours will automatically be ok. So the goal is to be sure the clock strikes the 12 times ok and then the one o’clock also. This will solve the Cuckoo Strike Quantity Issues.
Cuckoo clock door stuck open
Upon installation of a new cuckoo clock movement this is a common issue. The Cuckoo clock door stuck open could be a number of things. Please check the following to see if it solves the issue of the door not closing all the way.
Weights not heavy enough
If the pine cone weight that controls the cuckoo portion of the clock is not heavy enough this can be the issue. Pull down some on that weight and see if the door shuts.
If you check all of the below issues, and the door only shuts when pulling the weight down, consider adding a heavier weight. It maybe the wrong pine cone weight to begin with.
Needs Oil
The cuckoo clock movement may need oiling at least on the arms that make the bird go in and out of its house.
Also, it is good to put a drop of clock oil on the door hinges and the connections for the wire that goes from the bird to the door.
Bending the door wire
Try bending up the wire that goes from the bird to the Cuckoo clock door. If putting an upward hump of a bend in this wire, it will basically be the same as shortening this wire.
With a bent or shorter wire, the bird will not come out as far, but also the bird will pull the door shut more when it goes back in the clock case to sleep.
Bird wires bent
The arm that pushes the arm to make the bird come out, may need to get bent inward some. This may be tricky to see or get to, but sometimes there is a small side door on the side of the cuckoo clock case that can open and see this wire, or arm, that pushes the arm that connects to the bird.
Other times there is no door on the side of the case and need to do it from the back of the movement by taking the back panel off of the cuckoo case.
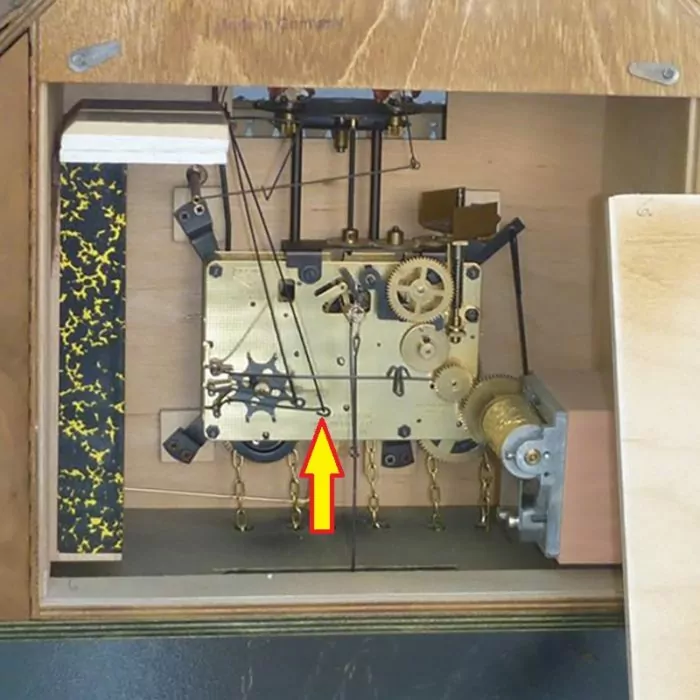
Correcting a bent bird wire
When looking at the back of the movement, this arm will be in a horizontal direction on the back right hand side of the clock movement.
Right as looking at the back of the movement that is.
In some cuckoos this is even trickier to see or adjust as the right hand bellow tube maybe in the way. Remove it if this is the case.
Locate this horizontal wire that is in the approximate middle of the movement, which is on the strike train side. This is the wire that can get bent.
This bending in of the wire more into the movement, will in turn make the door come out more. If bent out some toward the case side, will allow the bird to go in more and therefore the door will shut more.
Disconnecting the bellows
The lift wires travel from the movement up to the flaps of the old bellow tops.
Furthermore, these wires are taken off in order to remove the cuckoo bellows.
Usually this is done by opening the loop on the lower end of the lift wire. This is where it connects to the movement’s lift arm.
Use a small flat head screwdriver to twist open the loop on the wire.
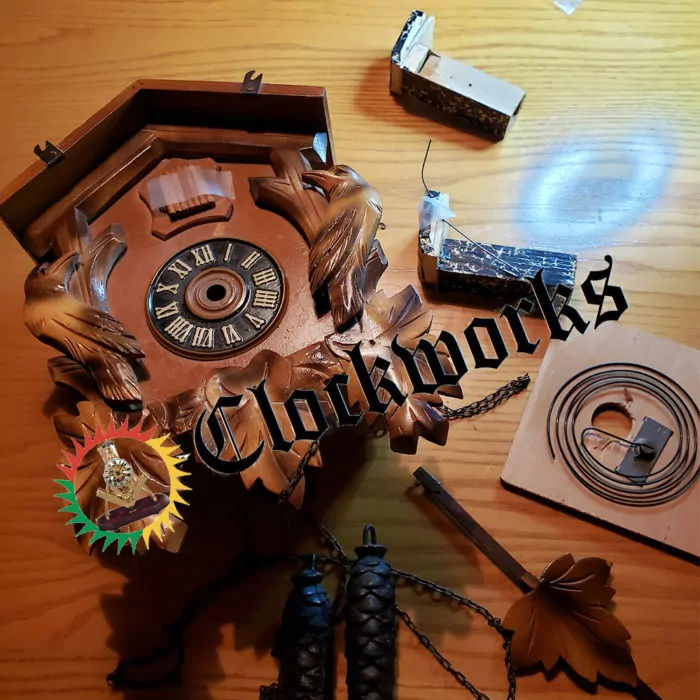
Removing the cuckoo bellows
Usually, one flat head screw holds the bellow tops in the clock. The screw goes into the bellow tube. This would be on the side of the cuckoo clock case.
Subsequently, each side has a bellow tube and therefore each side has a screw. This is providing the bellows do not have adhesive on them.
Once the screw is out of the tube, pry it off with a small screwdriver. Generally speaking, use the screwdriver because there is still one small nail holding it in place.
It is most certainly small enough so it simply pops off. As always, be careful not to damage the clock case when doing these things.
Installing the cuckoo wires
The first step is to install the eye loop wire into the new bellow tops. In essence, in the same manner as the old ones.
Second, drill a small pilot hole into the Cuckoo Clock Bellow Tops. Shove the eye loop into the hole with needle nose pliers.
Next work on the bird tail lift wire. Mount the bird tail lift wire the exact same way.
It is best to get the cuckoo clock wire assortment with the tops. This way, there will be extra wires in case one breaks or twists.
Removing old cuckoo bellow tops
The old cuckoo bellow tops will just snap off the tubes. The top of the tube will have some old glue stuck which has to be carefully taken off with a knife.
Just carefully scrape it off until it is smooth. This way it has a nice, flat surface for the new tops. You will new epoxy as well for the installation of the new tops.
Clear 5 minute epoxy mixes A with B and is great for this project. The regular epoxy is also fine. Any epoxy that dries fast will do the job. After all, it doesn’t have to be anything fancy.
After scraping the tops smooth, the epoxy will adhere well. If old epoxy is leftover, the bumps will make the new tops not stick as well.

Installing new cuckoo bellow tops
Once the epoxy is on the tops, either place them upside down to dry or clamp them. Clamping them is the best, however if you do not have them then turning them upside down is the next option.
Most importantly, the bellows have to be able to open without resistance.
This means there needs to be a gap between the flap that closes of the bellow top and the front of the tube. If this small gap is not there, the bellow will jam on the side of the clock case upon opening.
The top needs to be in the exact position as the old one was. As a result, it will be able to blow air into the hole that is in the top of the tube. This is so it will not rub anything.
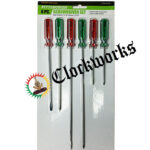
6pc Description
Long Screw Drivers Cuckoo Clock 6pc has assorted Philips and flat head components. This is the best set to remove movements from the clock case. They reach into mantle clock cases and cuckoo cases very well. It is not easy to find a perfect length screwdriver with the right size head.
Furthermore, these are long enough to go into the hole in the back of the cuckoo case to get the bird out.
The set includes three flat head screwdrivers and three Phillip head screwdrivers. Each style contains comes in the following measurements that make up the six pieces:
- 10 inch (254mm)
- 7 inch (178mm)
- 5 inch (127mm)
These Work very well with the magnetizer demagnetizer tool to make the tips a magnet.
| Weight | 0.25 lbs |
|---|---|
| Dimensions | 1 × 6 × 12 in |
Related Articles
You may also like…


Great service, thank you.
No problem, enjoy
James Stoudenmire
30yr Clockmaker
Author of Clockworks.com